The settings are displayed in the “Integration with CRM” tab after the integration is connected. If you have several channels connected, the integration for each channel must be configured separately.
How to set up integration in Wazzup account from CRM
Bitrix24 administrator who has installed Wazzup in CRM can configure the service directly in Bitrix.
To do this, go to Wazzup chats from the left menu of Bitrix24 → click "Open Wazzup account" → log in.
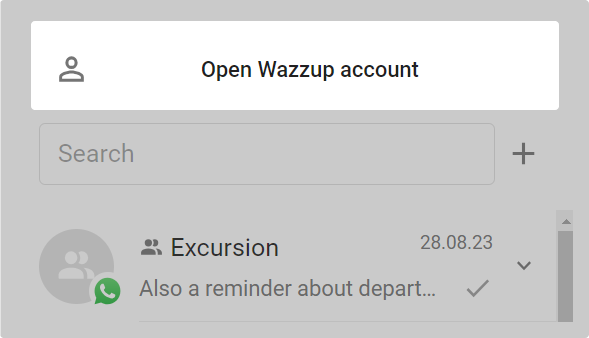
In the personal account inside Bitrix, everything is available that is available in your account in a separate tab. For example, which you open on our site.
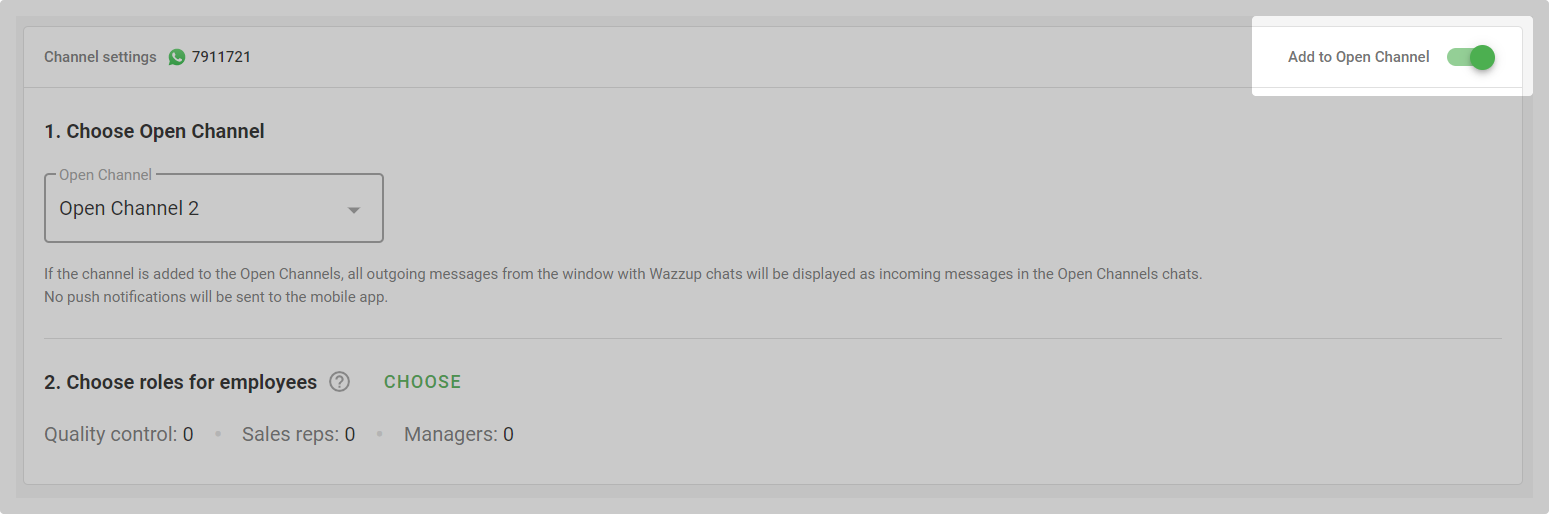
Choose in which chats to correspond
First decide how you want to correspond from the channel in Bitrix24: in Wazzup or Open Channel chats. This will affect the channel settings.
If you select Open Channel, then enable the “Add to Open Channel” slider.
👉 How Open Channels differ from Wazzup chats and how to set up Open Channels
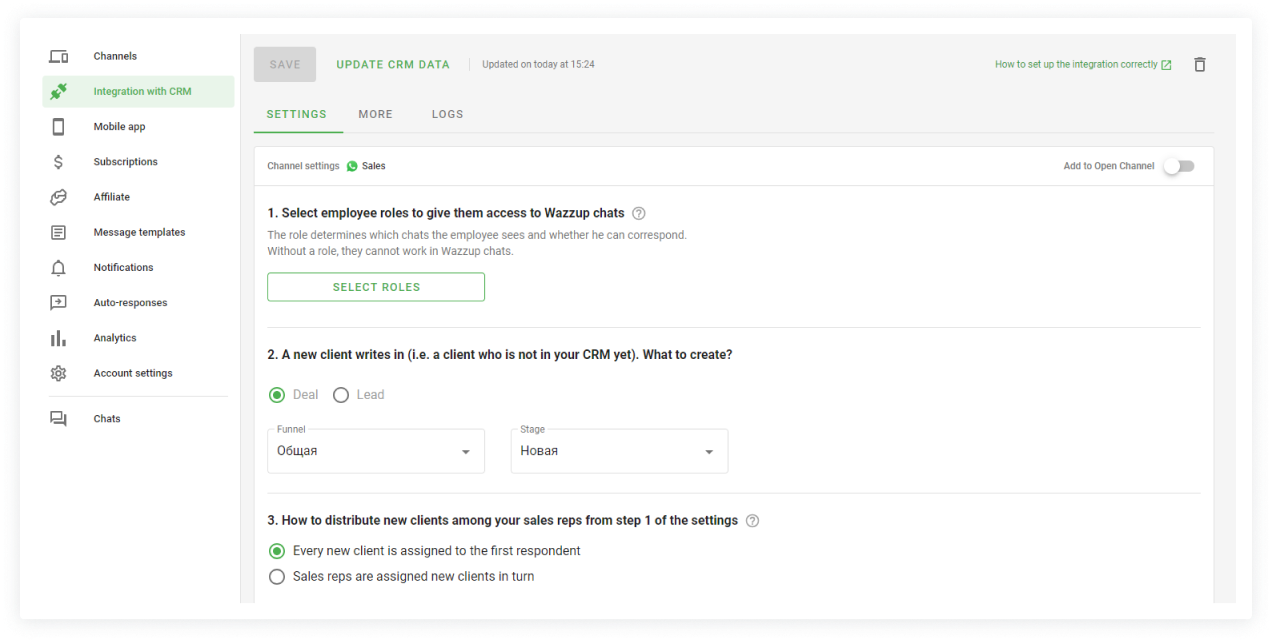
1. Choose roles for employees
The role defines the employee’s rights: which chats they see and whether they can correspond with customers. There are three roles:
- Quality control — checks the sales reps’ work. Sees all sales reps’ correspondence, but can’t write anything.
- Sales rep — communicates with clients and handles deals. Can write only to the clients for which he is responsible in the CRM. They cannot see the correspondence of other sales reps.
- Manager — manages and supervises large deals. They see the correspondence of all sales reps and can write to any client.
The “Choose roles” button opens a window with the selection of employee roles.
The “Receives new clients” slider gives the employee the right to participate in the distribution of new clients.
2. A new client writes in (i.e. a client who is not in your CRM yet). What to create?
When a new client writes, which is not yet in CRM, the service automatically creates either a contact and a deal, or a lead. Here we choose what to create. If a deal, then where exactly.
3. How to distribute new clients among your sales reps from step 1 of the settings
The first responding sales reps receives a new client. When a new client writes, sellers with the enabled “Gets new clients” setting from item 1 will receive notifications.
The first responding seller will become responsible in CRM. All other sales reps will stop seeing messages from this client and will not be distracted by them.
Sales reps receive new clients in turn. When a new customer writes, the service will automatically make responsible one of the sellers who have the slider “Gets new clients” enabled in the setting item 1. Other sellers will not see messages from this client.
Thus, sales reps will receive new clients in turn and will not be distracted by other people’s correspondence.

That’s it, you’ve configured which chats will be seen by salespeople and how customers will be distributed between them.
A window will pop up asking you to test the chats. We will automatically send you a test message to the first WhatsApp, WhatsApp Business API (WABA) or Telegram channel you add. You’ll be able to go straight to the chats and test the integration or do it later.
