In Bitrix24, you can configure which of the employees will be shown the general Wazzup chat, and who will not. Add all employees if you want the general Wazzup chat to be displayed for everyone.
If the integration is added through the marketplace
1. Go to the “Applications” tab on the left panel of Bitrix24.
2. Go to the “Installed” section on the top panel.

3. Find Wazzup in the list.
4. Click “Access permissions” to the right of the “Delete” button.

5. Select the employees who want to share the chat. The right column will display the employees who have been granted access.

The employees you have added in the settings will have a Wazzup tab on the left panel of Bitrix24. If the tab does not appear in the left pane, you can add it manually.
If the integration is added manually
1. Go to the “Applications” tab on the left panel of Bitrix24.
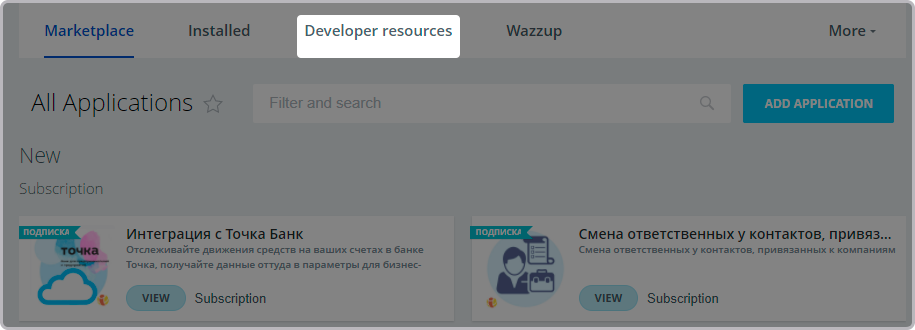
2. Go to the “Developer resources” section on the top panel.

3. Go to the “Integrations” tab on the top panel.
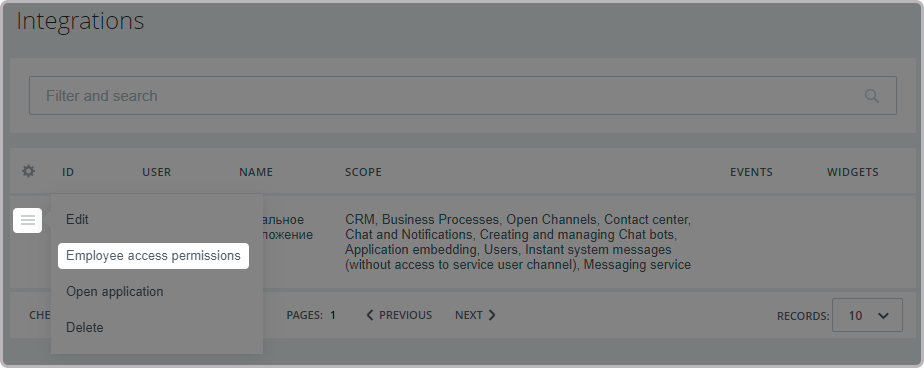
4. Click on the menu with the “hamburger” icon — on the left, under the gear icon.

5. Select “Employee access permissions” from the drop-down menu.
6. Select the employees who want to share the chat. The right column will display the employees who have been granted access.
The employees you have added in the settings will have a Wazzup tab on the left panel of Bitrix24. If the tab does not appear in the left pane, you can add it manually.