When integrating with Wazzup, you can work with several channels at the same time.
How to add multiple WhatsApp channels to Planfix
To add a channel, go to your account settings:

A settings menu will appear on the left side. Choose «Интеграции» (“Integrations”) → «Мессенджеры» (“Messengers”) → «WhatsApp» (“WhatsApp”):

A menu to choose your integration will open. Click the cog symbol under Wazzup logo to go to the settings:

Add the channels in the “Connected channels” row. You can input the numbers in any familiar format: with +7, 7, or 8. They should all be linked to WhatsApp. To delete a channel, click the cross icon.

After adding your channels, click “Save”.
Working with WhatsApp channels in Planfix
To write to a contact you have not previously had communication with, you can use any channel you prefer. To do this, open the “Contacts” tab. Choose the user and channel you want to create a task from.

When writing a message, fill in the mandatory fields: the name and the task description. Additional fields to be filled if needed are the time limits, the ones responsible, the attachments etc. The task description text will be sent as a message to the recipient in WhatsApp. If the contact replies, this message will be reflected in a comment to the task.

You can choose the channel to use only if you are writing to the client for the first time. You cannot change it during communication. If the dialogue has already been started, Planfix will not show the list to choose the outgoing phone number from. You will only be presented one channel: the one you have written from initially.

If you need to change the channel of communication, go to the task, delete it and create it again.
Creating tasks in different channels
When you write to a client first from one channel but this client later reaches out using another one, such a client will have 2 tasks created for them. Both will be reflected in their contact card:

The communication for each of the tasks is maintained through the channel it has been started on.
Working with the Instagram channel in Planfix
When working with Instagram in Planfix, you can:
— reply to an incoming message in Direct,
— reply to a user’s comment,
— reply to a user’s comment with a message in Direct.
Incoming messages and new comments on Instagram posts will be displayed as tasks.
Reply to a message in Direct
A task is created for an incoming message in Direct in Planfix. The name of the task displays the nickname of the user who wrote it, and the body of the task displays the first message. All subsequent messages will go to the task comments.

To reply, click “Accept” and add a comment. You can attach media and documents to the message. Audio, video and documents will be sent to the recipient in Direct in the form of links that can be viewed or saved when clicked, and the image will be displayed in Instagram immediately with a preview.

To quote a post, click on the arrow in the lower left corner of that post and add a comment.

Reply to comment
When a user has left a comment under a post, a new task is created in Planfix. The task body will contain a link to the post under which the comment was left. The user’s comment itself will be in the task comments.

To reply to a comment, click Accept, enter your message, and click Send. On Instagram, your response will appear as a second level comment.

The message will fall into the same task if the user wrote another comment to the post or replied to the comment of another user under this post. At the same time, your replies to him will always fall into the thread with his first comment.

The comment can be answered with a quote. To do this, in Planfix, click on the arrow ![]() in the lower left corner of the user’s message and add a comment.
in the lower left corner of the user’s message and add a comment.

Reply to a comment by post in Direct
In Planfix, you can reply to the incoming comment with a message in Direct. Click on the user’s nickname above the received message. In the opened contact card, select “Message” → “Instagram (Direct)”.

A window for creating a new task will open. Enter your answer in the Description field and click Create.
Your first message to the user will be both in the body of the task and in the comments in the new task.

The user’s response and subsequent correspondence will be displayed in Planfix in the comments of this problem.
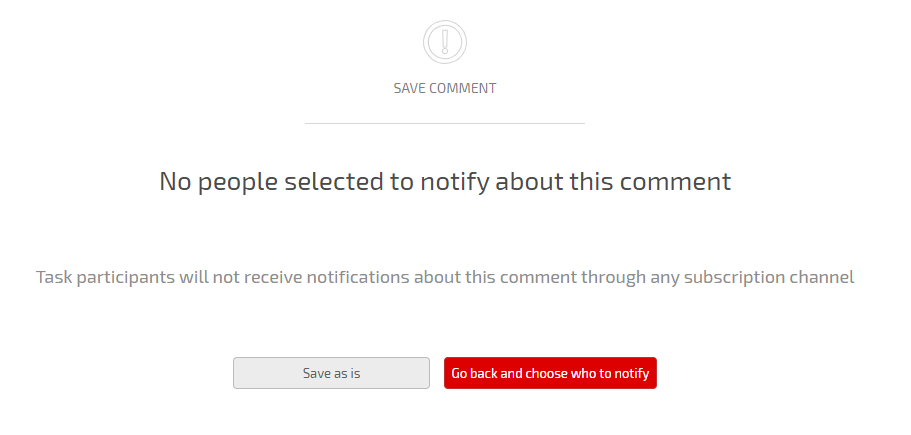
It may be that after the user’s response, you will not be able to write a response comment and an error window will appear. This happens due to the individual settings of Planfix. Click “Go back and choose who to notify”.
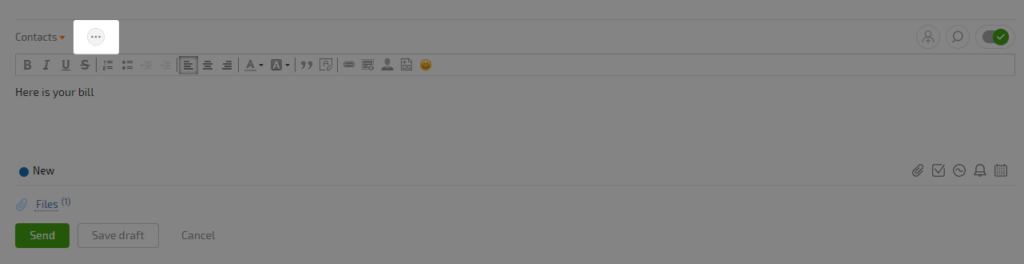
To send a comment, tap the circle with three dots above the message field and select a recipient. Click «Send».
What happens if you delete a channel
All the tasks from the deleted channel are retained in the system. If you later create a new channel for the same number, all the incoming messages will come in to the already existing chats. Outgoing messages will also be sent from the old task. If a channel has been deleted and then you create another one with another number, then the client will not be able to send messages to the already existing tasks. It is also be impossible to send messages from a deleted channel.
Tasks
The “Tasks” tab shows all the dialogues you have. If a contact has written you first, the system will name it automatically. This name includes:
- the name of the contact itself;
- the message transport;
- the service for integration;
- the number of the channel the message came in to.
If you are the first to write to a client, you specify this full name automatically.
